No edit summary Tag: Visual edit |
|||
| Line 22: | Line 22: | ||
Vehicles available on this map include: |
Vehicles available on this map include: |
||
====Resistance==== |
====Resistance==== |
||
| − | [[Ski |
+ | *[[V-4X-D Ski Speeder]] |
| − | [[X-Wing]] |
+ | *[[T-65B X-Wing]] |
====First Order==== |
====First Order==== |
||
| − | [[AT-M6]] (Objective, non-playable- AI fires at the resistance) |
+ | *[[AT-M6]] (Objective, non-playable- AI fires at the resistance) |
| − | [[First Order AT-ST]] |
+ | *[[First Order AT-ST]] |
| − | [[ |
+ | *[[TIE/LN Fighter]] |
==Modes== |
==Modes== |
||
Revision as of 12:09, 9 November 2018
- "On the desolate mineral planet Crait, the First Order has trapped a group of Resistance fighters. Using the machinery at their disposal, the desperate survivors take to the salt covered wastes hoping to buy time until they can find a way to escape...."
- — In-game description
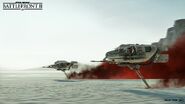
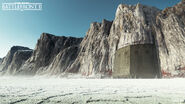
Abandoned Rebel Outpost is a map set on Crait in DICE's Star Wars Battlefront II that can be played in Galactic Assault and Blast. This map was added in the 1.0 Patch as part of The Last Jedi Season.
Overview
Vehicles
Vehicles available on this map include:
Resistance
First Order
- AT-M6 (Objective, non-playable- AI fires at the resistance)
- TIE/LN Fighter
Modes
The following is a list of modes that Abandoned Rebel Outpost can be played in:
In Galactic Assault, the Resistance must escape from Crait as the First Order touches down on them. The map is split into three phases depending on who wins the objective
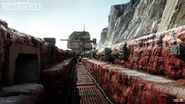
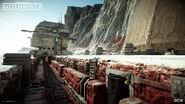
The first stage involves two large AT-M6 slowing marching towards the abandoned Rebel outpost. The Resistance must use the Ion Disruptors scattered around the trenches and tunnels to allow troopers to attack the wakers. Those soldiers who carry the Ion Disruptor must be careful when peeking out of the trenches as they are vulnerable to sniper fire and other weapons as the flat terrain allow soldiers to be seen fairly easily. The First Order must protect the AT-M6 walkers from the Ion Disruptors and must push the Resistance back.
If the First Order is successful, then the second stage commences. Now, the Resistance must defend the hangar bay from falling to the First Order. The First Order needs to capture the hanger bay in proceeding inwards into the abandoned outpost. The various debris scattered towards the hanger bay allows players to seek cover fairly easily
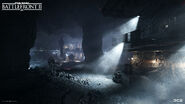
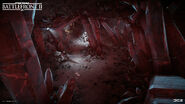
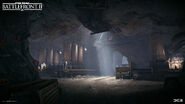
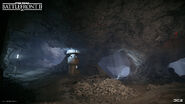
Once the First Order secures the hangar bay, the third and final stage commences. The Resistance must defend three power consoles from being destroyed by the First Order long enough for them to secure themselves further into the mine. The First Order must destroy the three power consols using blaster fire to prevent the Resistance from escaping. The mine is full of platforms and choke-points to attack enemies by surprise.
Trivia
- This map uses the same ground assets as Mos Eisley.
Updates
- Added map to Blast.
- Added.
Gallery
| Locations and Maps in DICE's Star Wars Battlefront II | |||||||||||
|---|---|---|---|---|---|---|---|---|---|---|---|
| Locations | |||||||||||
| Maps |
| ||||||||||

