(Categories) |
m (Relinking pages per rename) |
||
| (6 intermediate revisions by 4 users not shown) | |||
| Line 4: | Line 4: | ||
| name = Outpost Delta |
| name = Outpost Delta |
||
| type = Multiplayer, land |
| type = Multiplayer, land |
||
| − | | planet = [[ |
+ | | planet = [[Hoth]] |
| era = [[Galactic Civil War]] |
| era = [[Galactic Civil War]] |
||
| − | | aff = [[ |
+ | | aff = [[Rebel Alliance]] |
| modes = *[[Blast]] |
| modes = *[[Blast]] |
||
*[[Galactic Assault]] |
*[[Galactic Assault]] |
||
| Line 18: | Line 18: | ||
}} |
}} |
||
{{Quote|Plodding AT-AT walkers advance toward the Rebel position under air cover as Rebel defenders try to hold the position.|''Star Wars Battlefront II'' website}} |
{{Quote|Plodding AT-AT walkers advance toward the Rebel position under air cover as Rebel defenders try to hold the position.|''Star Wars Battlefront II'' website}} |
||
| − | '''Outpost Delta''' is a multiplayer land map in [[EA DICE|DICE]]'s ''[[Star Wars Battlefront II (DICE)|Star Wars Battlefront II]]'' that is set on [[ |
+ | '''Outpost Delta''' is a multiplayer land map in [[EA DICE|DICE]]'s ''[[Star Wars Battlefront II (DICE)|Star Wars Battlefront II]]'' that is set on [[Hoth]]. |
==Overview== |
==Overview== |
||
| − | In the first phase, [[Galactic Empire |
+ | In the first phase, [[Galactic Empire|Imperial]] [[Stormtrooper|snowtroopers]] must escort two [[AT-AT]] walkers deployed by {{Wook|Gozanti-class cruiser|Gozanti cruisers}} towards the identified [[Rebel Alliance|Rebel]] base, traversing through icy caves and mountainous terrain while under fire by Rebel forces, including Rebel troops, defensive emplacements like cannons, and vehicles, including [[T-47 Airspeeder|snowspeeders]]. Rebel forces must use [[Disruptor Rifle|ion disruptors]] and fire them at the AT-AT walkers, triggering a period of time during which the hit walker or walkers are vulnerable and can be damaged by other arms. Rebel troops must fire upon the walkers with ion disruptors and destroy them before they reach the final checkpoint. |
If any AT-AT walker reaches the final checkpoint, then it blasts open the respective gate it reached protecting the Rebel base, beginning the second phase and allowing Imperial troops to rush in through the breach. However, if one of the walkers are destroyed before reaching the final checkpoint, then the gate it was approaching is left in tact, and Imperial troops must find another way in. Through the gates are two capture points that Imperial troops must secure in order to push the Rebel forces back deeper into their base. |
If any AT-AT walker reaches the final checkpoint, then it blasts open the respective gate it reached protecting the Rebel base, beginning the second phase and allowing Imperial troops to rush in through the breach. However, if one of the walkers are destroyed before reaching the final checkpoint, then the gate it was approaching is left in tact, and Imperial troops must find another way in. Through the gates are two capture points that Imperial troops must secure in order to push the Rebel forces back deeper into their base. |
||
| Line 28: | Line 28: | ||
==Modes== |
==Modes== |
||
| + | ===[[Arcade]]=== |
||
| − | The following is a list of modes that Outpost Delta can be played in: |
||
| − | + | ===[[Blast]]=== |
|
| − | + | ===[[Galactic Assault]]=== |
|
| + | {{IGD|The Empire has found a secret Rebel base on Hoth. They launch a full-scale assault across the frozen wastes, hoping to prevent their enemies from escaping....}} |
||
| ⚫ | |||
| + | {{Clear}} |
||
| ⚫ | |||
| + | [[File:Hoth-outpost-delta.jpg|thumb|right|250px]] |
||
| ⚫ | |||
| + | Plodding AT-AT walkers advance toward the Rebel position under air cover as Rebel defenders and their screen of T-47s try to hold the position.<ref name="EA Website Hoth OD">[https://www.ea.com/games/starwars/battlefront/battlefront-2/multiplayer/maps/hoth EA Battlefront 2 Website - Hoth: Outpost Delta]</ref> On this map, the Galactic Empire are the attackers and the Rebel Alliance are the defenders. |
||
| + | |||
| + | In phase one, the Rebels must attack the Empire's AT-ATs using ion disruptors scattered around the map, before they can breach their base's hangar doors. If the AT-AT's reach the base, the second phase commences. Here, the Empire must capture both the East and West Hangars of Outpost Delta in order to advance further into the base. The final phase sees the Empire attempting to sabotage three objectives: the Fuel Station, Fuel Depot and Fuel Pipes. Once accomplished, the Rebel transports will be grounded and there can be no escape. |
||
| + | |||
| ⚫ | |||
| ⚫ | |||
| ⚫ | |||
| + | {{IGD|An Imperial Strike team manages to infiltrate the Rebel Base. Their goal is to sabotage the dangerous Ion Cannon threatening the Imperial fleet....}} |
||
| + | {{Clear}} |
||
| + | The Galactic Empire must sabotage both the Ion Cannon Control and Ion Cannon Targeting. The Rebel Alliance must defend them until the Imperial reinforcement count runs out. |
||
==Vehicles== |
==Vehicles== |
||
| Line 42: | Line 52: | ||
* [[BTL-A4 Y-Wing]] |
* [[BTL-A4 Y-Wing]] |
||
* [[RZ-1 A-Wing]] |
* [[RZ-1 A-Wing]] |
||
| − | * [[ |
+ | * [[AT-RT]] |
====Galactic Empire==== |
====Galactic Empire==== |
||
| − | * [[ |
+ | * [[AT-AT]] (on rails, objective for [[Galactic Assault]]) |
| − | * [[ |
+ | * [[AT-ST]] |
| − | * [[TIE/ |
+ | * [[TIE/ln Fighter]] |
| − | * [[TIE/ |
+ | * [[TIE/sa Bomber]] |
====Interactable==== |
====Interactable==== |
||
| − | * [[ |
+ | * [[Tauntaun]] (On the field, usable for both Rebels and Empire) |
==Trivia== |
==Trivia== |
||
| Line 61: | Line 71: | ||
==Gallery== |
==Gallery== |
||
| + | |||
| + | ==References== |
||
| + | {{Reflist}} |
||
Revision as of 22:54, 17 December 2019
- "Plodding AT-AT walkers advance toward the Rebel position under air cover as Rebel defenders try to hold the position."
- — Star Wars Battlefront II website
Outpost Delta is a multiplayer land map in DICE's Star Wars Battlefront II that is set on Hoth.
Overview
In the first phase, Imperial snowtroopers must escort two AT-AT walkers deployed by Gozanti cruisers towards the identified Rebel base, traversing through icy caves and mountainous terrain while under fire by Rebel forces, including Rebel troops, defensive emplacements like cannons, and vehicles, including snowspeeders. Rebel forces must use ion disruptors and fire them at the AT-AT walkers, triggering a period of time during which the hit walker or walkers are vulnerable and can be damaged by other arms. Rebel troops must fire upon the walkers with ion disruptors and destroy them before they reach the final checkpoint.
If any AT-AT walker reaches the final checkpoint, then it blasts open the respective gate it reached protecting the Rebel base, beginning the second phase and allowing Imperial troops to rush in through the breach. However, if one of the walkers are destroyed before reaching the final checkpoint, then the gate it was approaching is left in tact, and Imperial troops must find another way in. Through the gates are two capture points that Imperial troops must secure in order to push the Rebel forces back deeper into their base.
If both control points are captured, then the third phase begins. Imperial forces pursue the Rebel troops further back into their base and must plant explosives on three objectives in order to ground the Rebels and prevent them from escaping in evacuation transports. Imperial troops must defend the planted explosives as they charge up for detonation while Rebel troops can disarm them. If all three charges go off, then the Empire wins. If any of the three charges fail to explode, then the Rebels are able to evacuate Hoth and win.
Modes
Arcade
Blast
Galactic Assault
- "The Empire has found a secret Rebel base on Hoth. They launch a full-scale assault across the frozen wastes, hoping to prevent their enemies from escaping...."
- — In-game description
Plodding AT-AT walkers advance toward the Rebel position under air cover as Rebel defenders and their screen of T-47s try to hold the position.[1] On this map, the Galactic Empire are the attackers and the Rebel Alliance are the defenders.
In phase one, the Rebels must attack the Empire's AT-ATs using ion disruptors scattered around the map, before they can breach their base's hangar doors. If the AT-AT's reach the base, the second phase commences. Here, the Empire must capture both the East and West Hangars of Outpost Delta in order to advance further into the base. The final phase sees the Empire attempting to sabotage three objectives: the Fuel Station, Fuel Depot and Fuel Pipes. Once accomplished, the Rebel transports will be grounded and there can be no escape.
Hero Showdown
Heroes vs. Villains
Strike
- "An Imperial Strike team manages to infiltrate the Rebel Base. Their goal is to sabotage the dangerous Ion Cannon threatening the Imperial fleet...."
- — In-game description
The Galactic Empire must sabotage both the Ion Cannon Control and Ion Cannon Targeting. The Rebel Alliance must defend them until the Imperial reinforcement count runs out.
Vehicles
Vehicles on Hoth for both sides include:
Rebel Alliance
Galactic Empire
- AT-AT (on rails, objective for Galactic Assault)
- AT-ST
- TIE/ln Fighter
- TIE/sa Bomber
Interactable
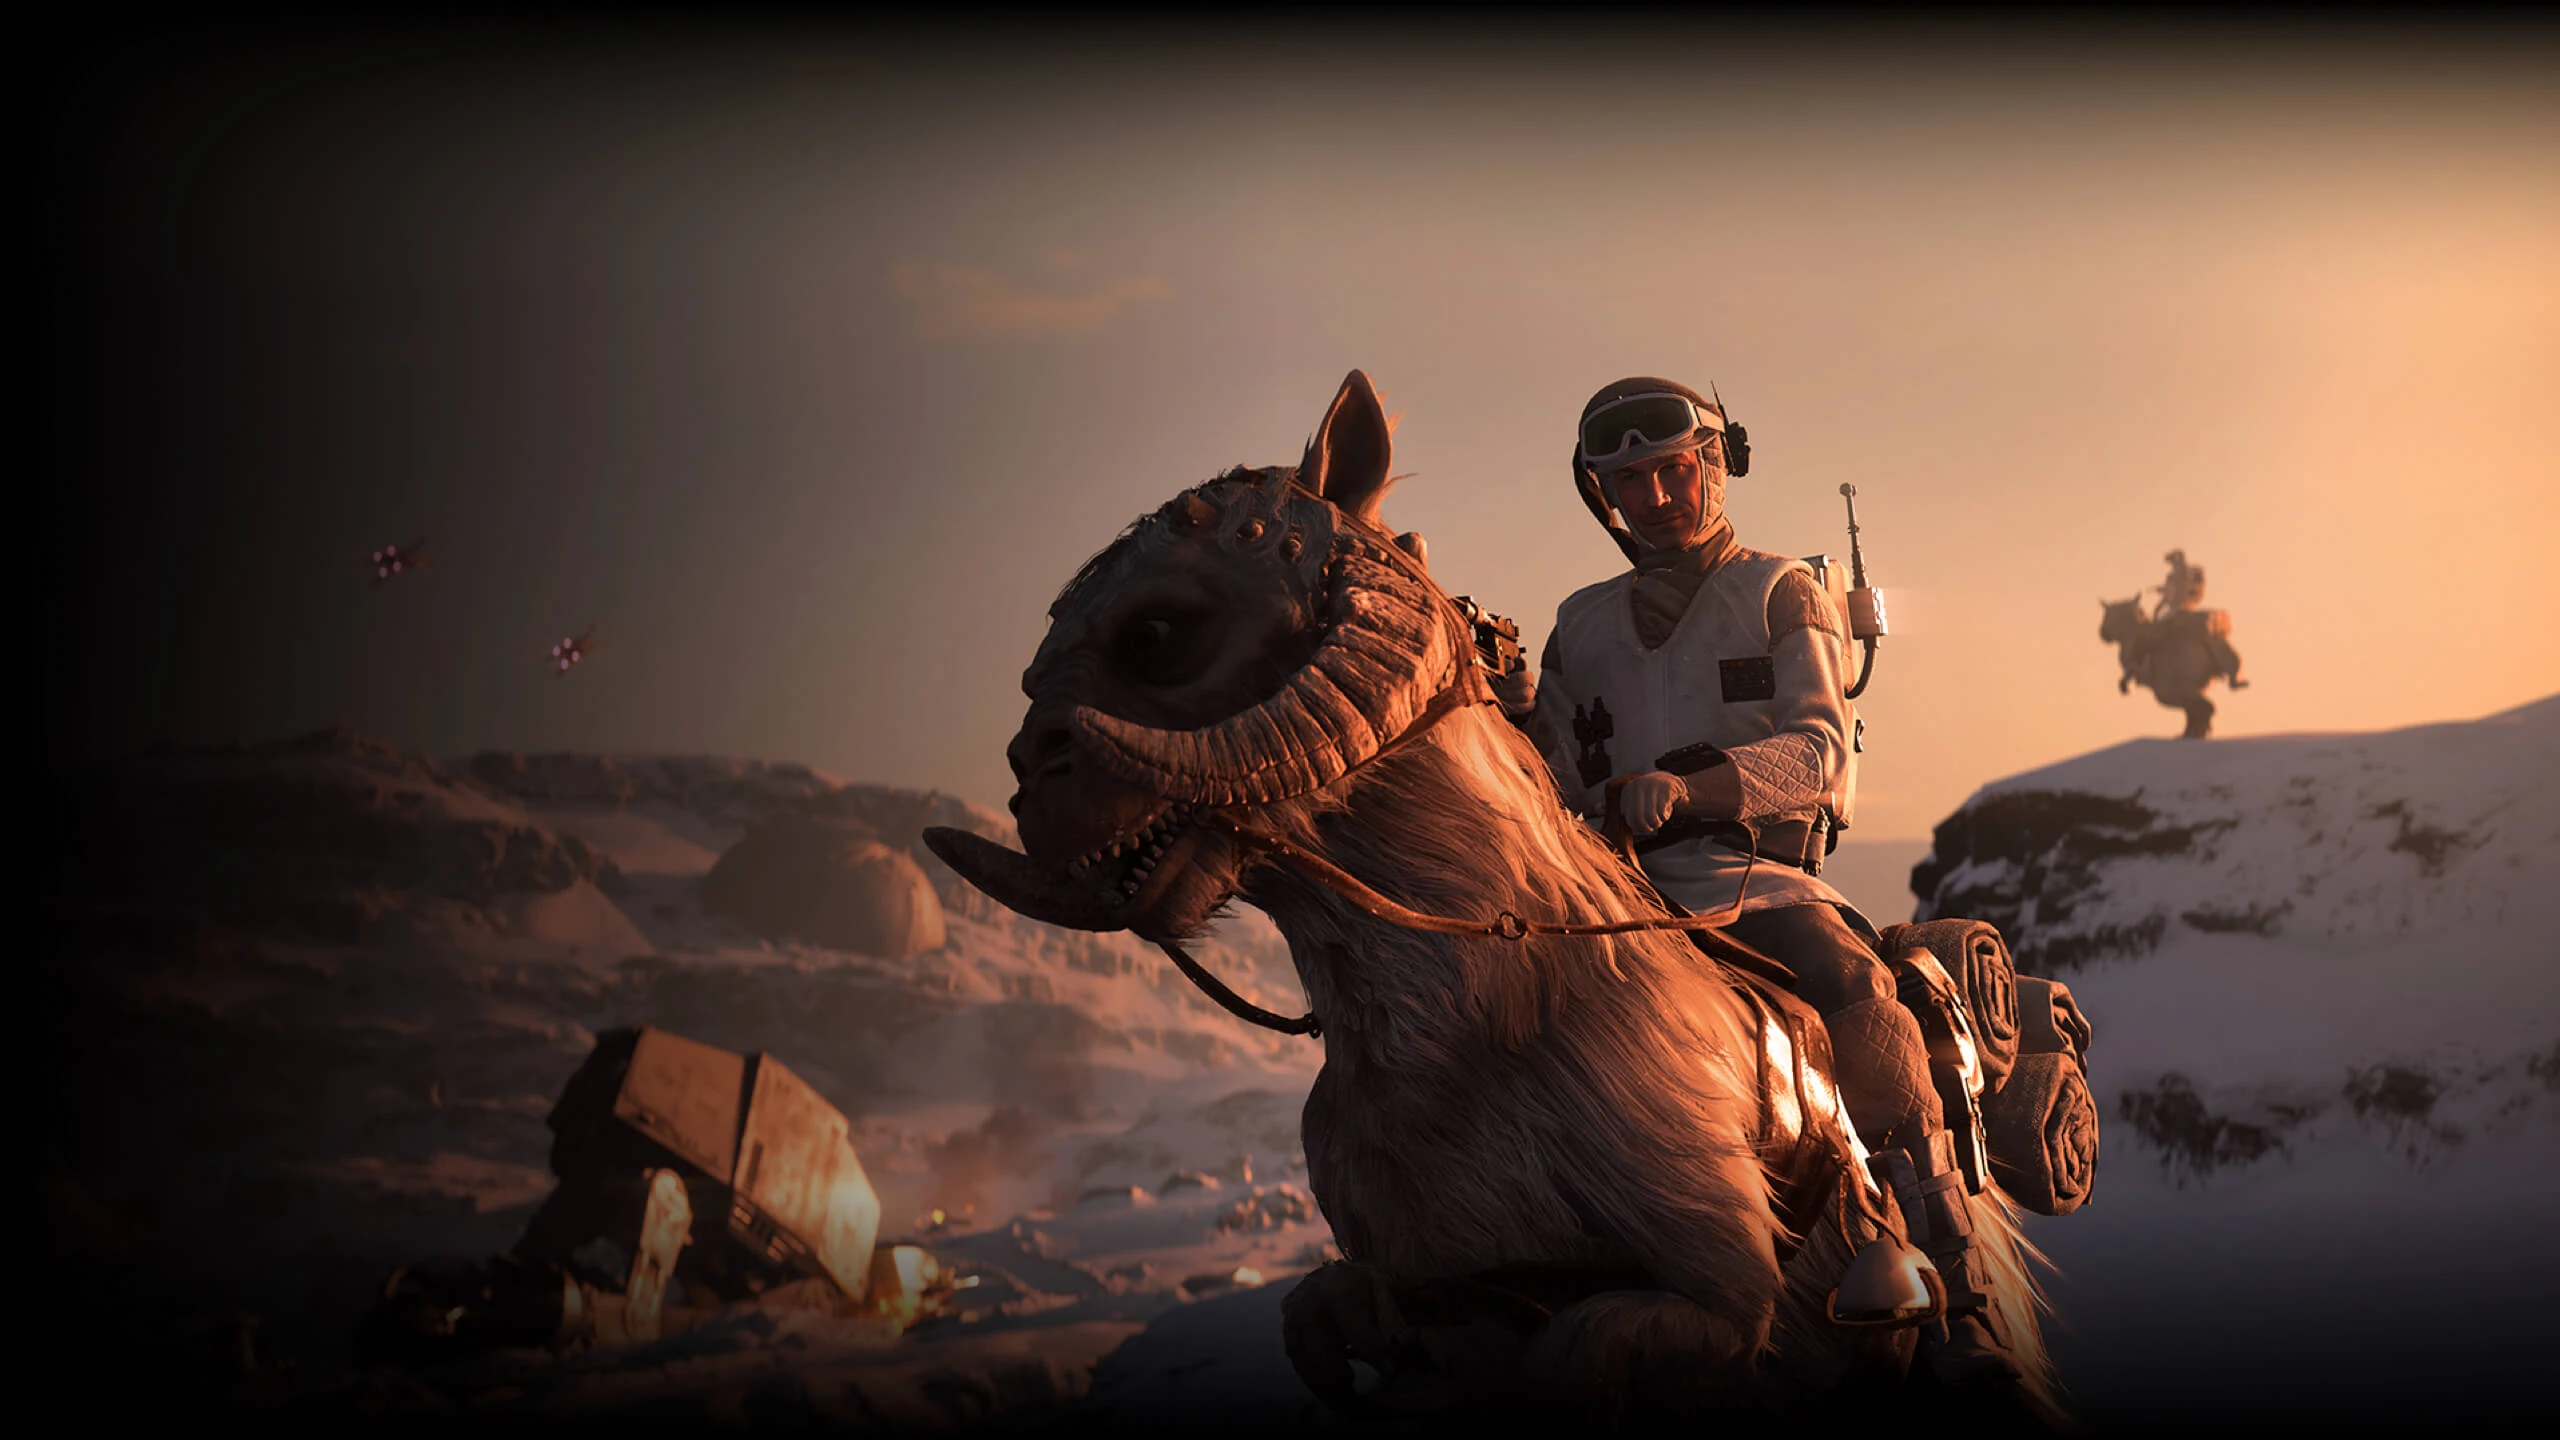
- Tauntaun (On the field, usable for both Rebels and Empire)
Trivia
- Outpost Delta was first mentioned in the canon tie-in novel for DICE's Star Wars Battlefront, Battlefront: Twilight Company, by Alexander Freed.
- Outpost Delta's name being 'Delta' suggests it is stationed further away from the main Echo Base, further even from the previous game's Outpost Beta.
Updates
Gallery
References
External links
 Outpost Delta on Wookieepedia
| Locations and Maps in DICE's Star Wars Battlefront II | |||||||||||
|---|---|---|---|---|---|---|---|---|---|---|---|
| Locations | |||||||||||
| Maps |
| ||||||||||